Starting a new school year can be an exciting time for both parents and kids and this Photo Frame Craft for School Pictures is a great way to commemorate the day.
Like most parents, I snapped a bunch of pictures at the start of the 2021-2022 school year and will be ordering school photos as the year goes on.

Of course, I will post them online for family and friends to enjoy, however we will also add them to frames in our home.
Recently, my husband, kids, and I looked back at their collection of school photos. It was neat to see their changes throughout the years.
Of course, these pictures are not only restricted to being enjoyed on a wall or posted online.
Another fun way to display them is with magnets on a fridge, dishwasher, or a file cabinet. You can preserve the photos by putting together a simple frame craft with your child.
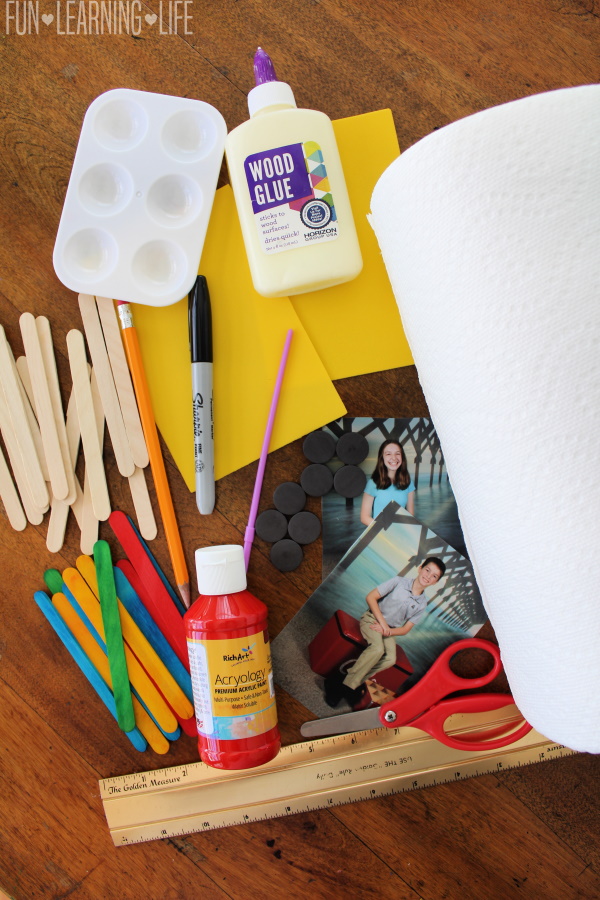
What you will need to recreate the Photo Frame is the following:
15 Small Craft Sticks AKA Popsicle Sticks
Foam Sheet
Glue
Scissors
Pencil
Marker
Magnets
Ruler
Optional:
Acrylic Paint
Paint brush
Tip: You can find most of the supplies at the Dollar Tree or craft store.
Directions:
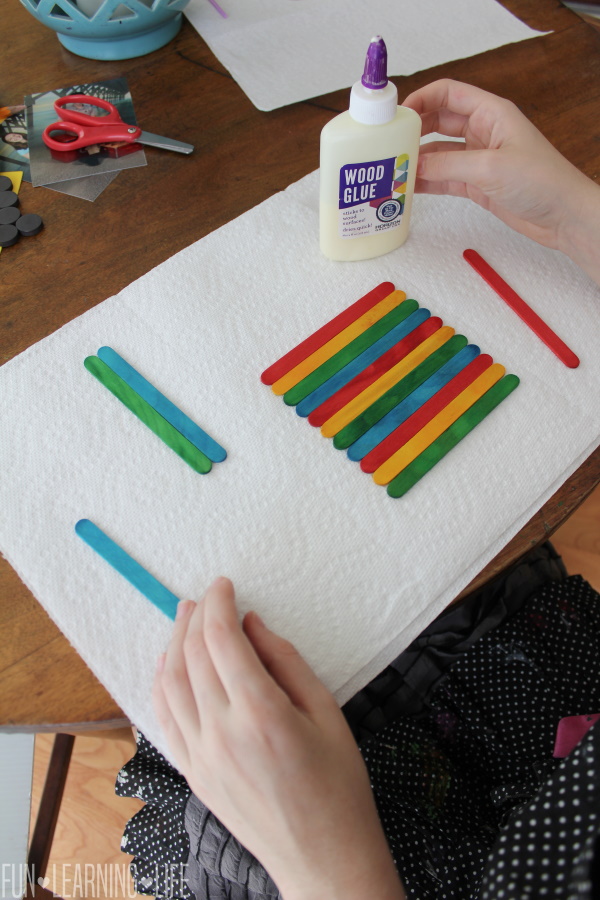
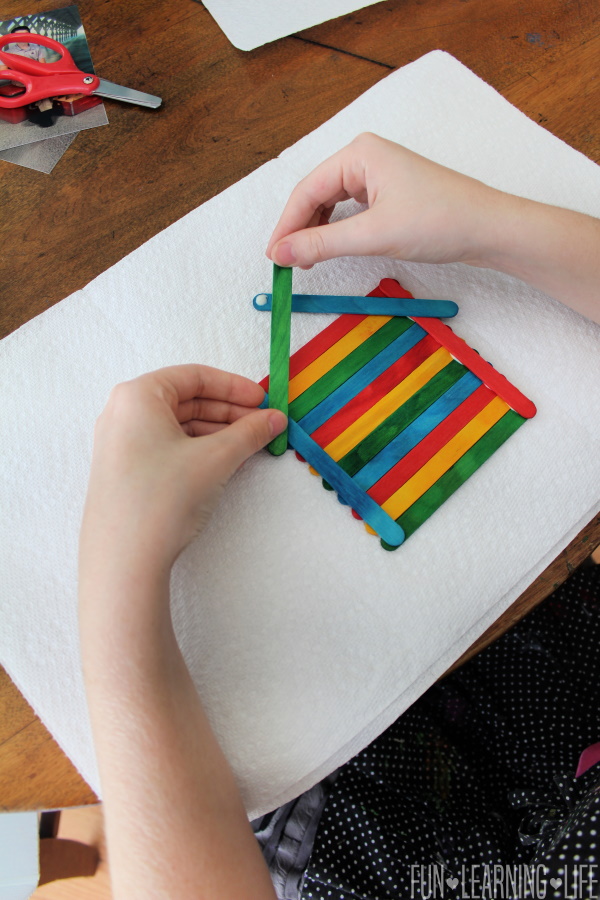
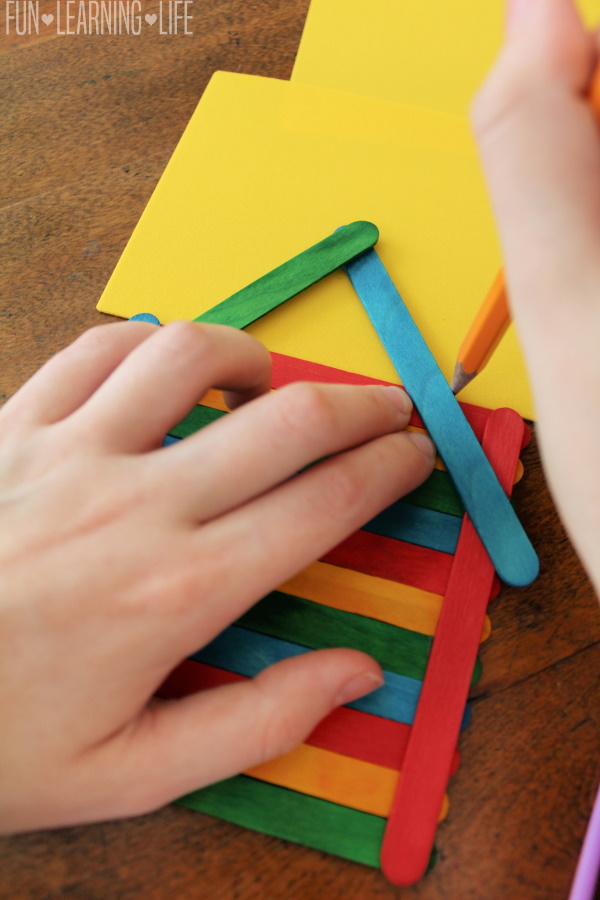
To get started, first glue your craft sticks together into a square shape. Do so by lining up 11 craft sticks in a row then gluing down 2 sticks, one on each end. Next take 2 more sticks to form a triangle shape. Attach the triangle by gluing the sides to the top and gluing the center of the triangle.
Then, set the schoolhouse shape aside and allow the glue to dry for around 15 minutes.
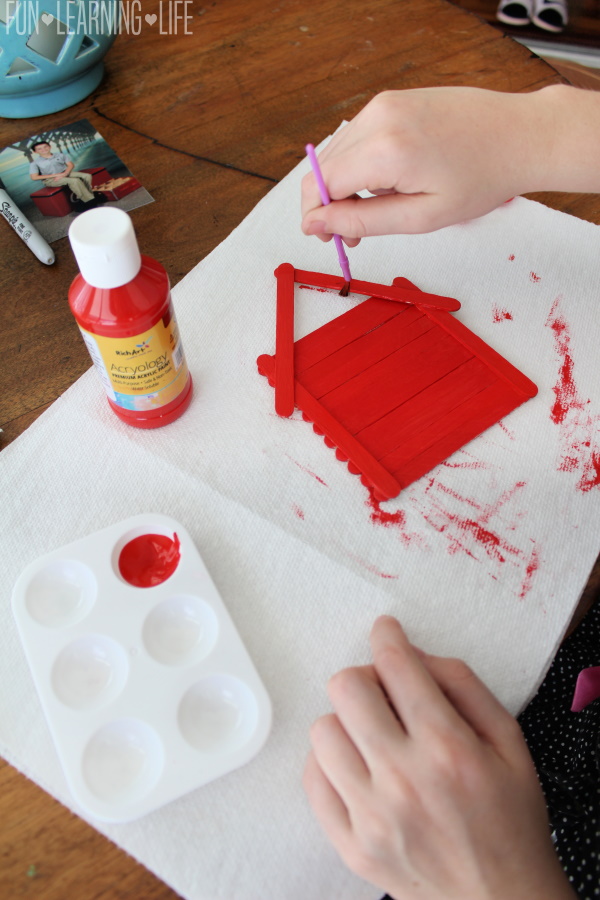
My daughter made 2 examples of this photo frame craft. One was created with multicolor sticks that were pretreated with paint, and another with plain sticks that were then painted with red acrylic paint.
Tip: Be sure to put down paper towels to protect surfaces and have your child wear either an oversized T-shirt or Apron to protect their clothing.
Once the structures are set and all paint and glue has dried, it is time to add foam to the triangle shape at the top. Simply lay the foam underneath and trace the outside with a pencil.
Next up, cut out the shape and write the year in the center. She first wrote out the year with a pencil and then went over it with a marker. The foam triangle shape was then glued to the top on the back and 4 magnets were also glued to the back.
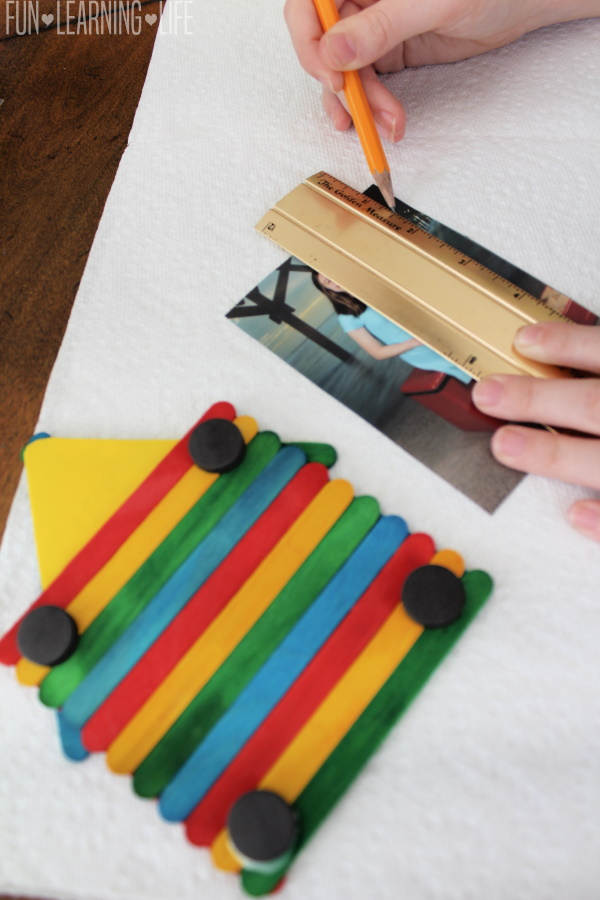
To complete the photo craft, my daughter shaped pictures to fit the frame using scissors, a pencil, as well as a ruler and glued the photo to the craft sticks. She also made sure that some of the colors of the craft sticks were showing on the sides.
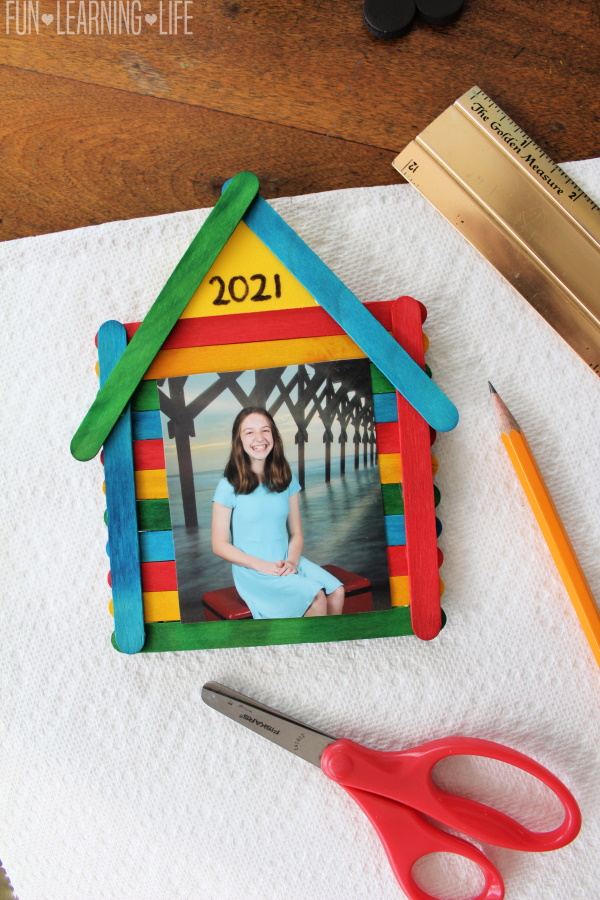
Once the magnets, foam, and photo are dry, the craft is ready to be displayed. I just love how colorful this turned out; it was such a great way to display pictures of our younger kids from last school year.
I hope your family has a great back to school and has a great time putting this craft together.
Carlee @ FLL
Comments