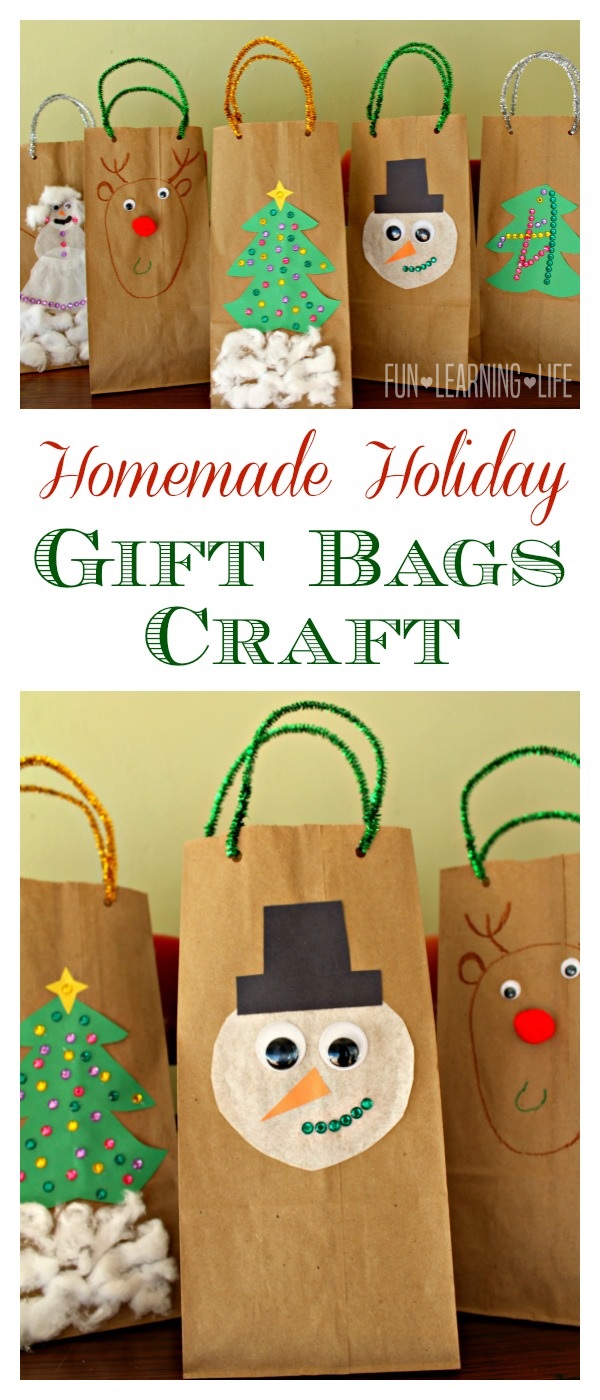
As we visit with family and friends over the Holidays, the kiddos will be delivering cookies, presents, as well as ornaments they made at school.
Of course we want to wrap up these items up in pretty packages, and a thoughtful and creative way to do this is through making our own set of Homemade Holiday Gift Bags.
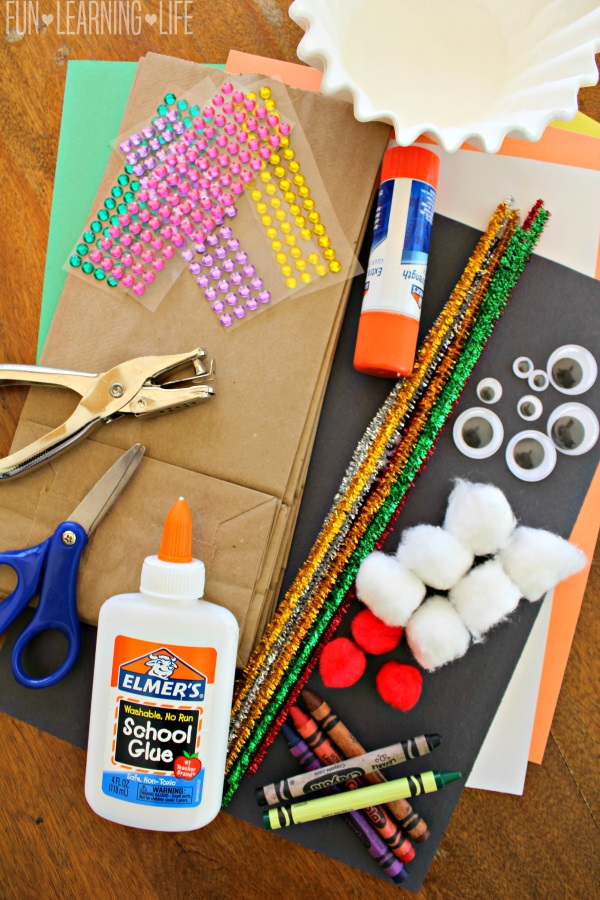
My children thought this was a really neat craft and if you would like to recreate this craft, here is what you will need.
– Brown Paper Bags
– Pipe Cleaners AKA Fuzzy Sticks (like tinsel)
– White Coffee Filters
– Construction Paper (Black, Yellow, Orange, etc)
– Crayons
– Red Pom Poms
– Cotton Balls
– Glue Stick and/or Glue
– Safety Scissors
– Hole Punch
Optional: Gem Stickers and Googly Eyes
Tip: You can find most of these items at your local Dollar Tree or Craft Store.
Directions:
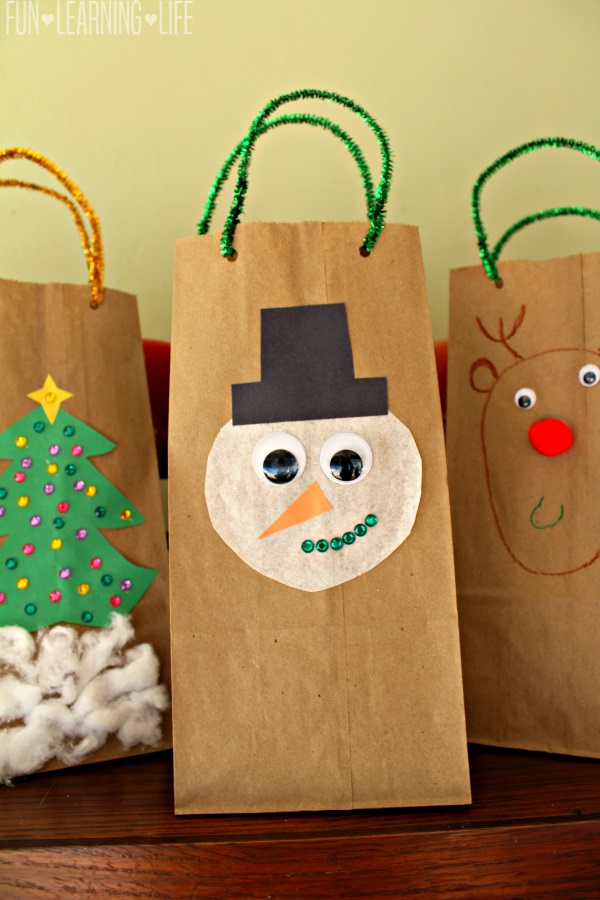
To get started, first decide what the theme of your child’s bag will be. We created Snow People, Christmas Trees, and a Red Nosed Reindeer.
Once they pick out what they are going to make, it is time to either cut out the parts or draw a face or shape.
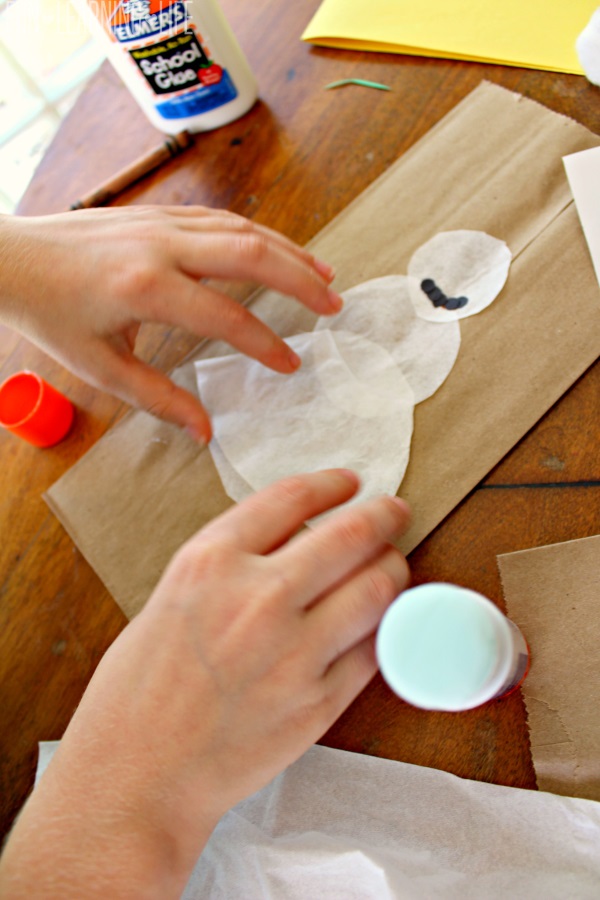
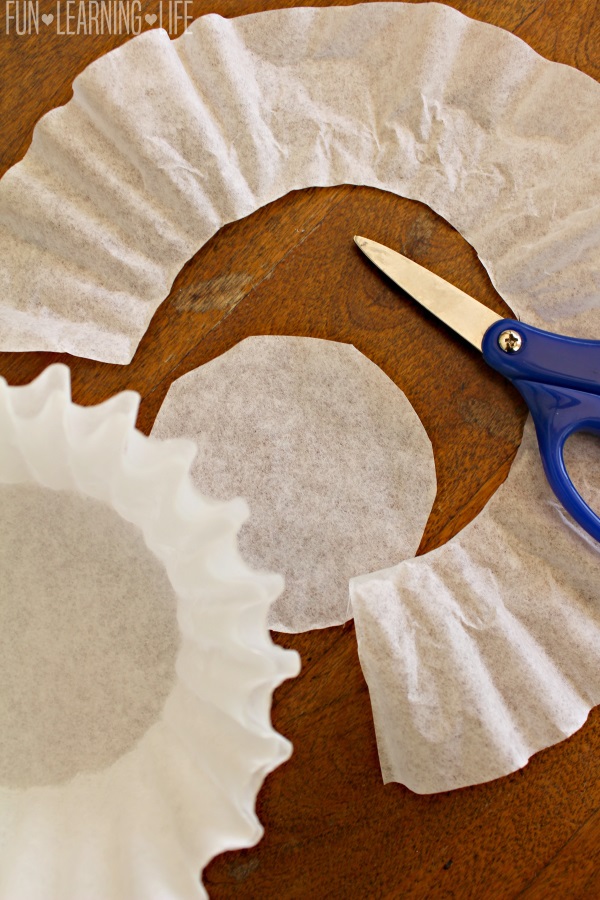
For our snow people we used coffee filters for just a face as well as to complete 3 part bodies.
To make these circle parts, simply cut out the size you would like and paste to the brown bag.
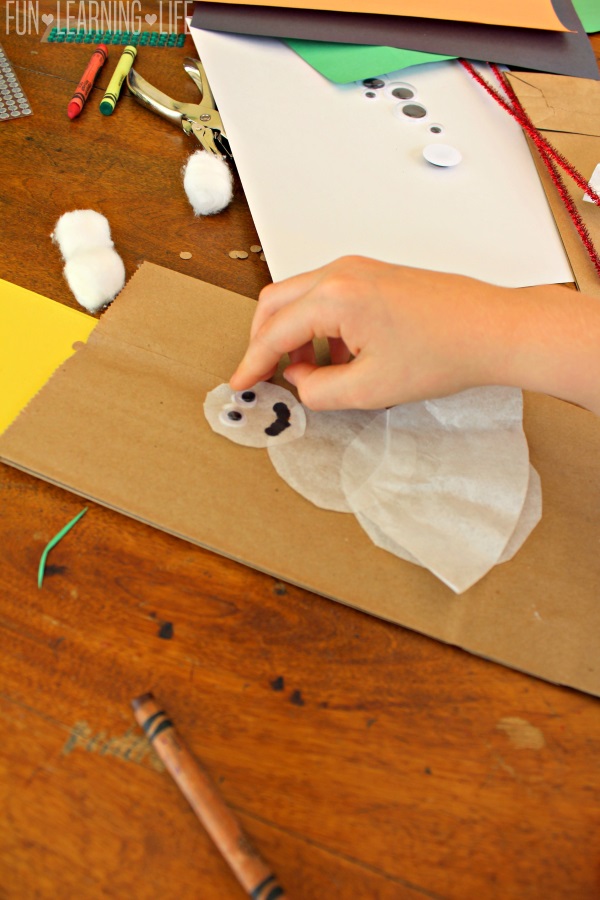
In order to decorate, we added googly eyes (they can also be drawn on), attached an orange construction paper carrot nose, and used gems or construction paper for the mouth.
I also added a black construction paper hat to my character and my daughter glued on cotton for hair and cut the remaining part of the coffee filter to look like a skirt.
Tip: These bags are ideal for light weight gifts. For heavier items, consider doubling up your brown bags and secure the handles to both.
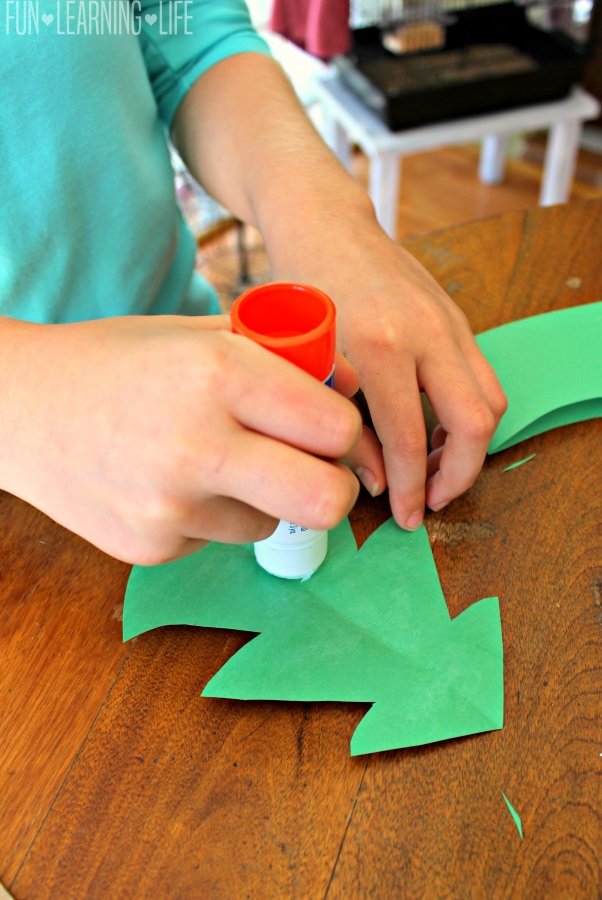
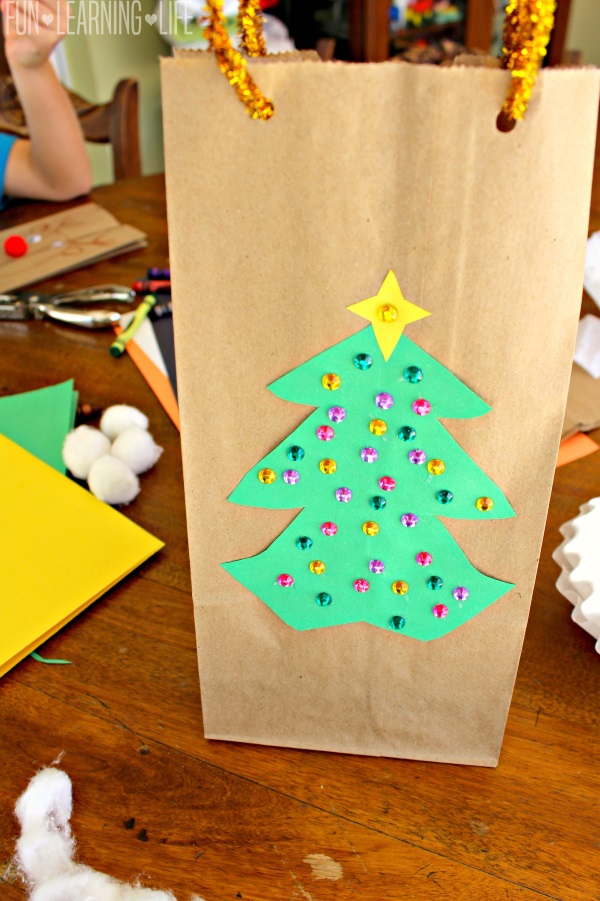
To create a Christmas tree, I folded a piece of green construction paper in half and cut out the shape.
Next, we used the left over paper as a template for more trees.
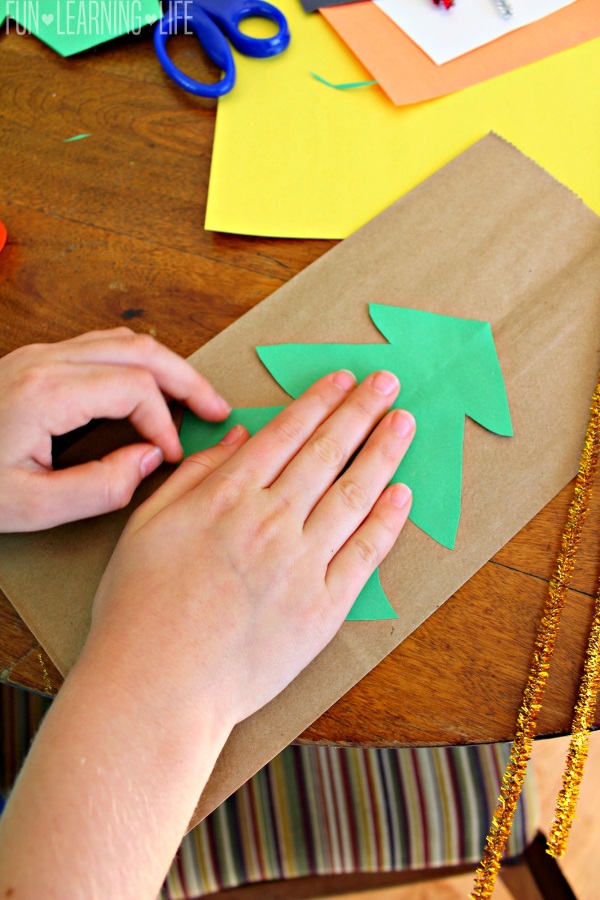
Again, this shape was pasted to a brown bag.
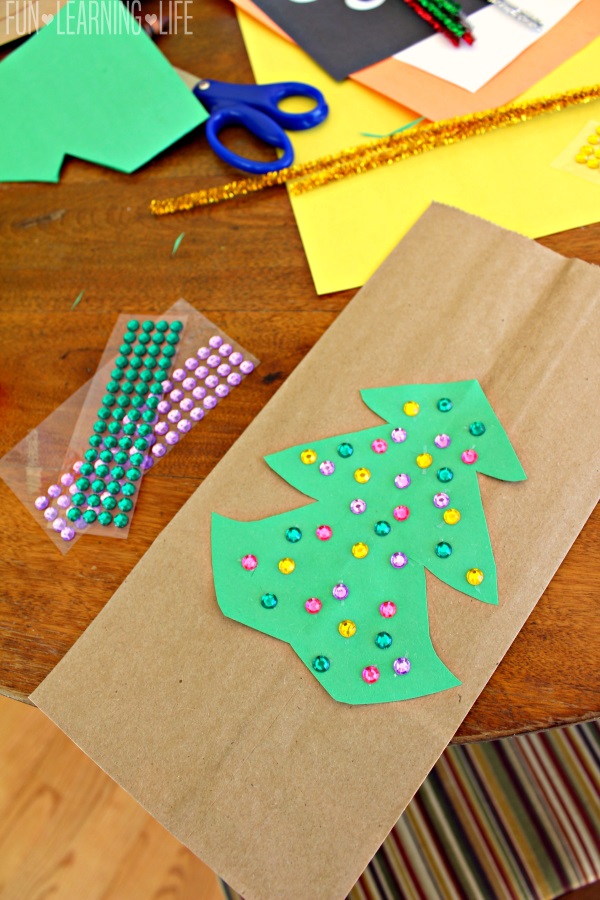
My daughter trimmed the tree by adding gem stickers for ornaments.
I then cut out a yellow star from construction paper to be added to the top. To finish the scene, stretched cotton was added to the bottom to look like snow.
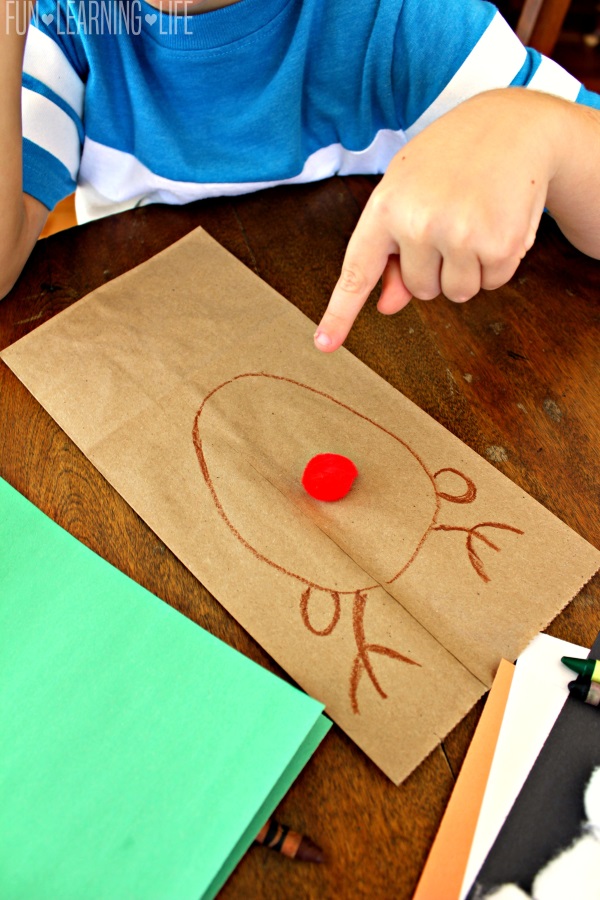
For our final character, my little guy made a reindeer.
To get him setup, I drew an oval shape with a brown crayon and added ears and antlers. He then attached the googly eyes with glue, a red pom pom for the nose, and drew on a mouth.
Once all the bags were decorated, they were set aside so any remaining glue could dry.
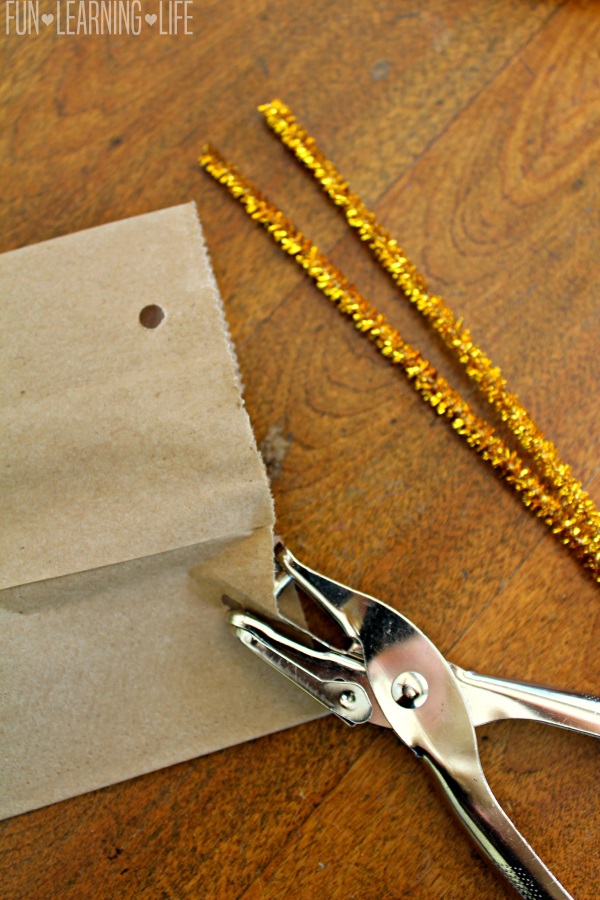
We then took the hole punch, went as far down as we could to secure the holes, and punched twice in the front and then on the back.
In order to complete the craft, two pipe cleaners were added through the holes to create handles.
Tip: Turn the pipe cleaners up on each end when you put them through the holes. Then, pinch both sides together, and twist to secure.
As you can see, these Gift Bags are adorable and easy to make. I hope your family enjoys creating these fun packages together, and you have a Happy Holiday Season!
Carlee @ FLL
Comments