I am a big fan of the fall and even though we don’t necessarily get to enjoy the changing of the leaves here in the Tampa Florida Area, I can still pick up decorations, make autumn themed crafts, and enjoy the desserts.
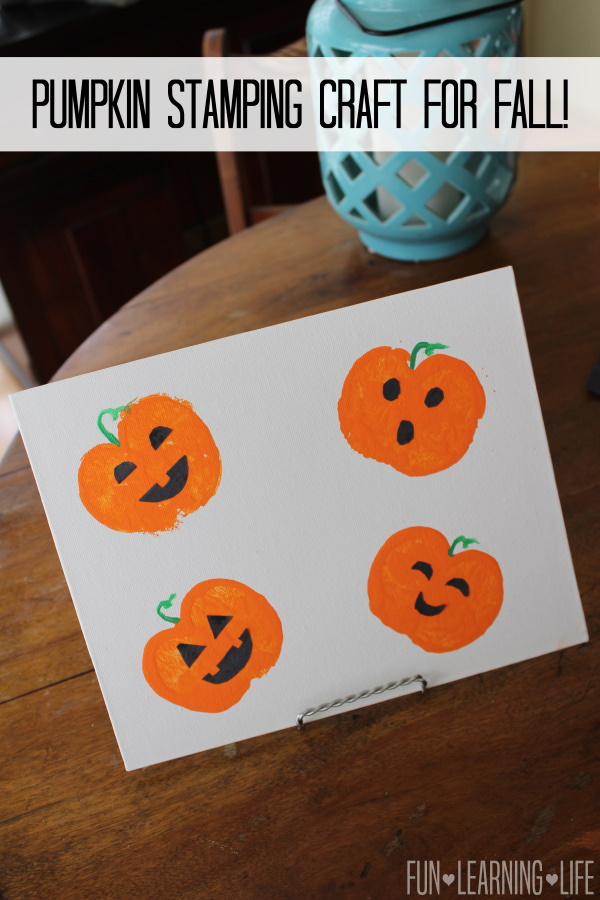
When I get an opportunity to make a fall related craft with my kids, I am all in. Check out this Pumpkin Stamping Craft for Fall!
A few years back, I made a decoration for my home by placing apple halves in red paint and stamping them on a burlap canvas. It turned out so well, that I thought it would be fun to do it again but this time with orange paint to make small pumpkins.
We even took it a step further and my daughter added green stems and Jack o’ Lantern faces to the shapes.
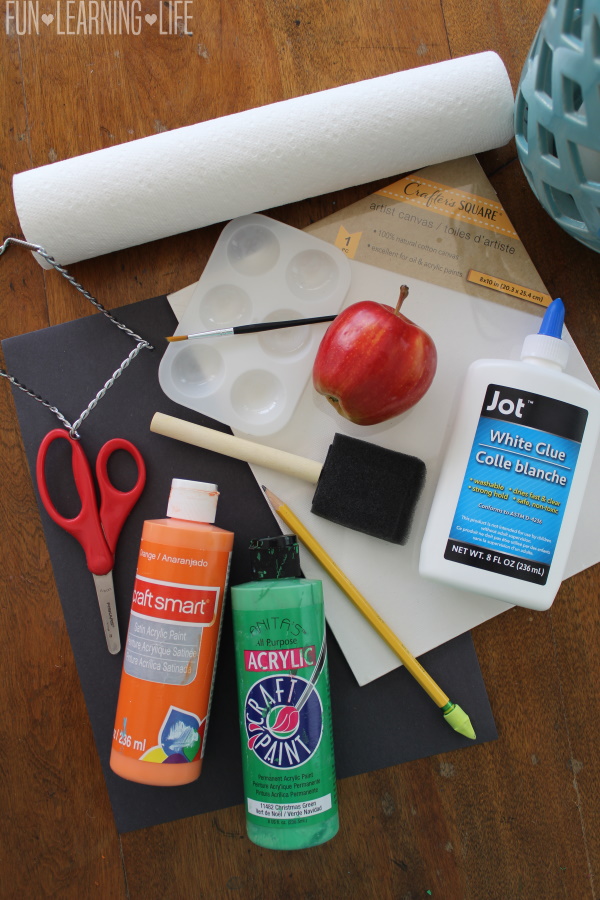
If you would like to recreate this Pumpkin Stamping Craft you will need the following:
Apple
Black Construction Paper
Glue
Safety Scissors
Pencil
Canvas Board
Orange Acrylic Paint
Green Acrylic Paint
Paint Brush
Sponge Brush
Plastic bowl or container
Metal Stand
Paper Towels
Tip: Most of these items can be found at the Dollar Tree or craft store.

Directions:
To get started with this Halloween Craft, first protect your surfaces with either paper towels or newspaper. Then, be sure to have your child wear an oversized t-shirt or apron to protect their clothes.
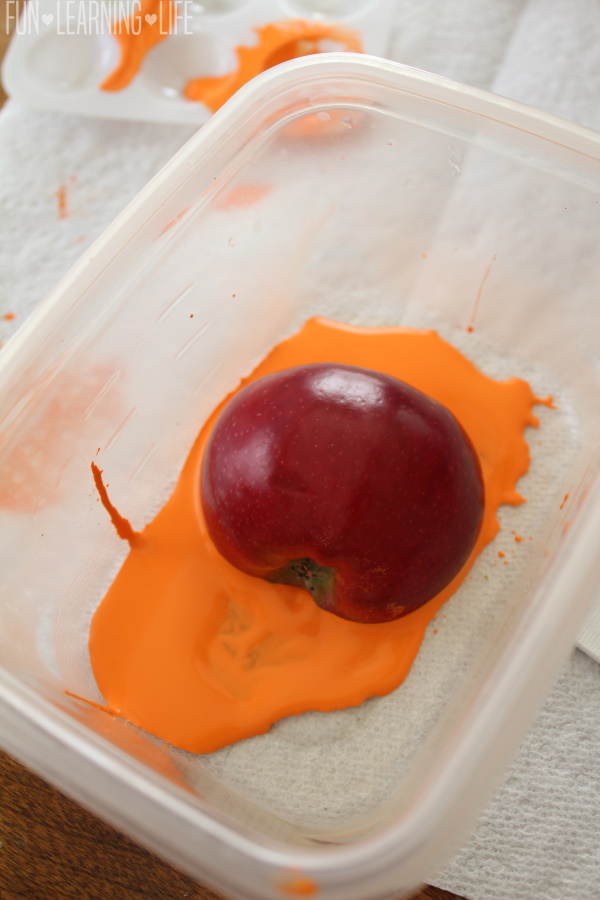
Next, pour orange acrylic paint into a plastic container and then have an adult cut an apple in half. Be sure to use the other part of the apple as a snack afterwards.
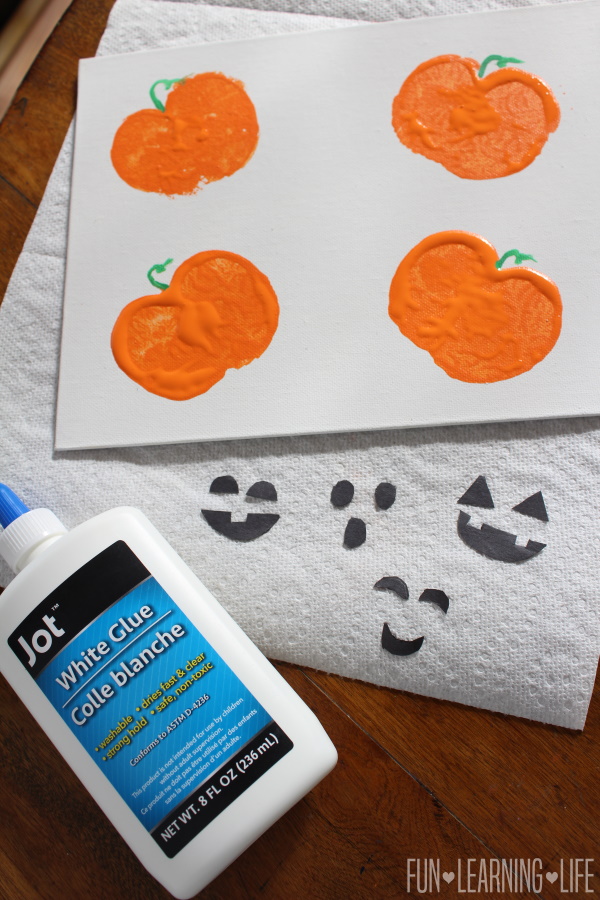
FYI, I was going to have my daughter use a sponge brush to apply the paint to the apple for less mess, but it really needs to be submerged into the paint.
We ended up using the sponge brush to fill in any empty spots on the canvas and to wipe any potential drips.
Tip: If you want to skip using a stand, you can also substitute in plain white paper for a canvas.
Once the apple half is placed in the bowl on top of the paint, lift it up carefully and push it down on to the canvas and apply pressure. Repeat this until your child has the desired number of pumpkin shapes.
You and your child can then start the process of cutting out the Jack ‘o lantern faces from the black construction paper. If you would rather just have pumpkins, you can stop there.
Depending upon the age of your child, you may need to assist in creating the shapes for the faces, and I suggest tracing with a pencil first and then cutting them out with scissors.
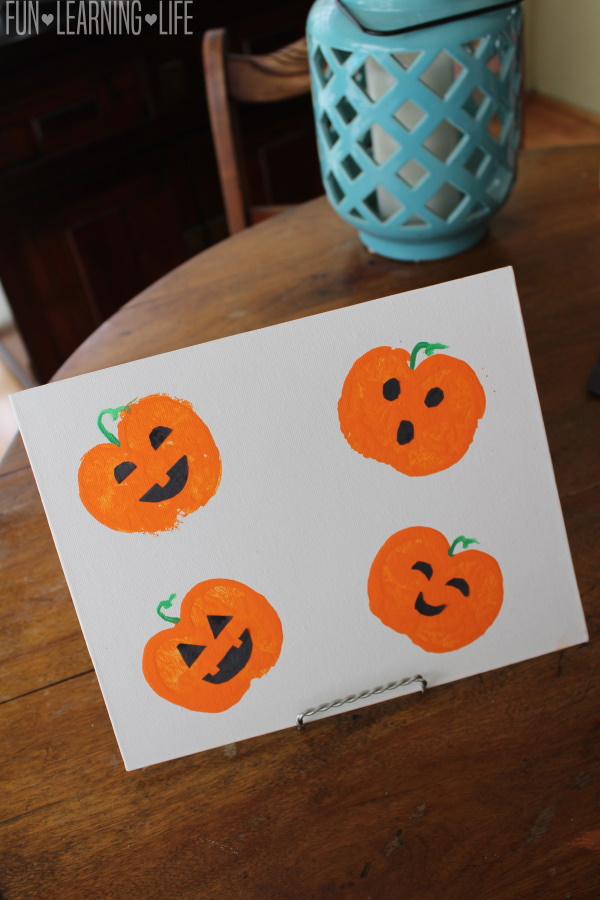
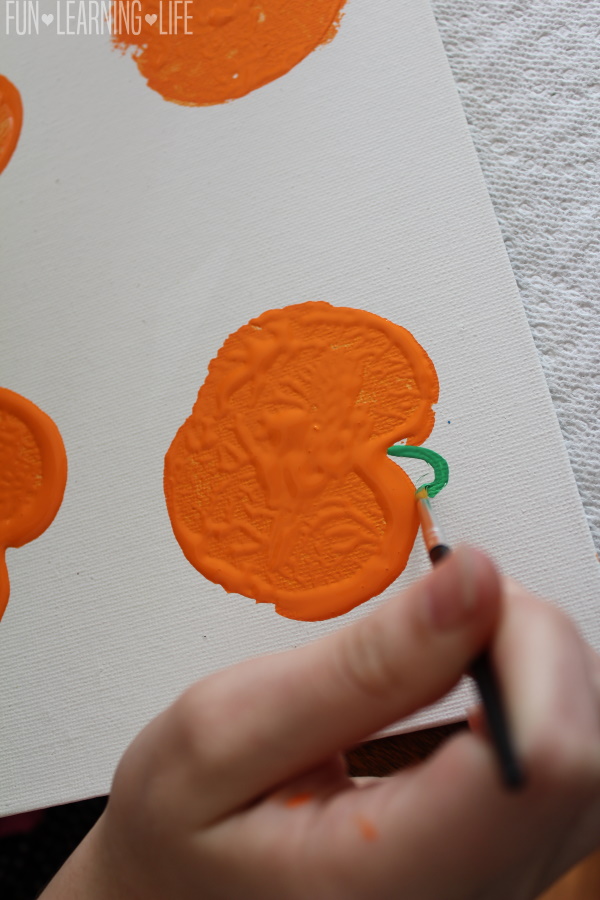
Next up, it is time to take the paintbrush and add the stems to the pumpkins. My daughter decided to go with a curly shape, but your child may want to go with a simple line instead.
When finished with the stems and most of the acrylic paint is dry, your child can then start adding on the faces. Simply apply glue to the surface and add the construction paper.
When the canvas has dried, it is ready to be displayed on the metal stand. I put ours in the living room and I just love how cute this turned out.
Carlee @FLL
Comments