A special thank you goes out to Warner Bros for sending my family a Tie-Dye kit with items to get ready for Camp Warner Bros Summer Camp At Home. Opinions expressed are that of my own.
This year’s summer activities are going to be slightly different from years past due to social distancing.
Where normally my kiddos would have gone off to some sort of half day or all day activity, we are now coordinating our own Summer Camp at Home.
Thanks to Warner Bros, this task just got a little easier because throughout the next 8 weeks they will be providing our family with activity ideas to share.
In addition, they are providing digital movie codes to accompany their Camp Warner Bros to keep our family occupied while we spend more time at home.
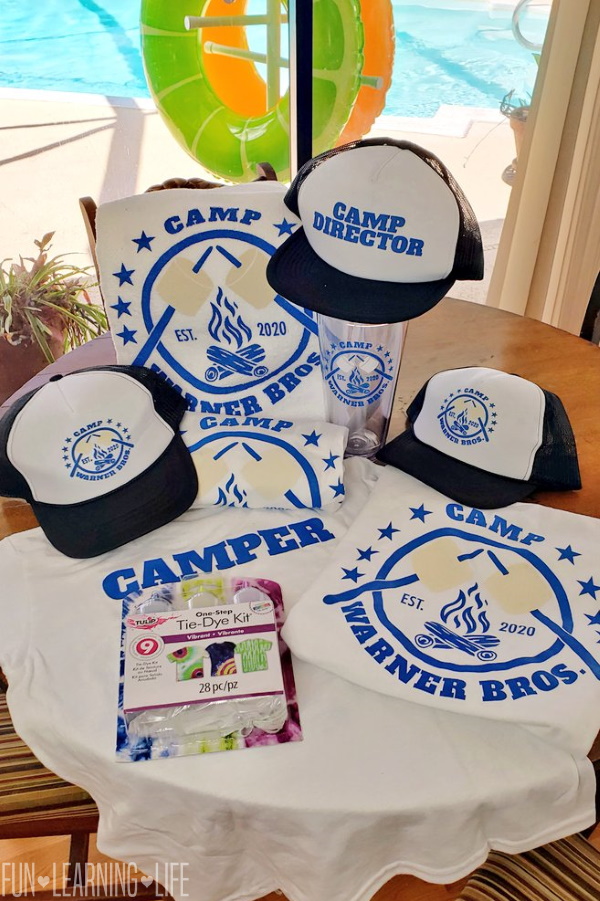
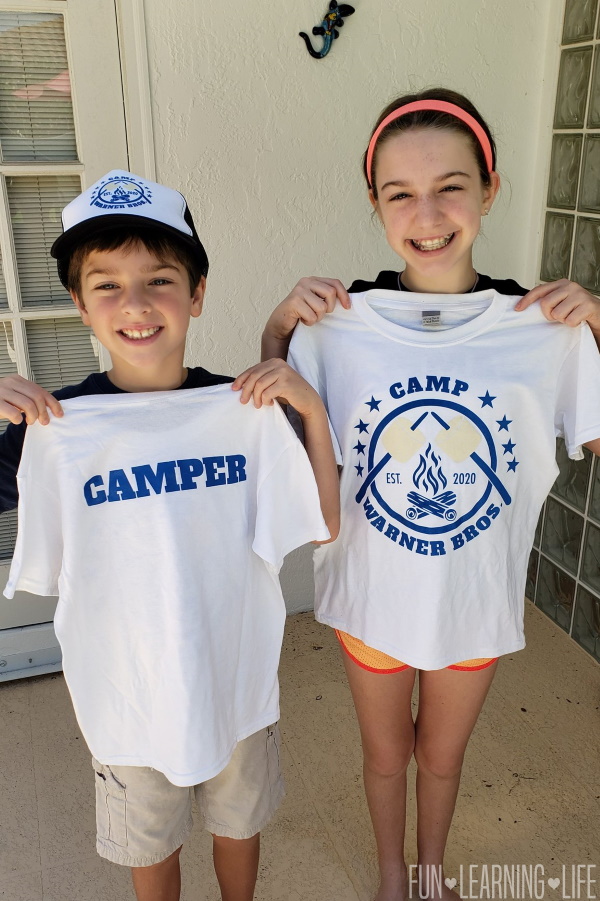
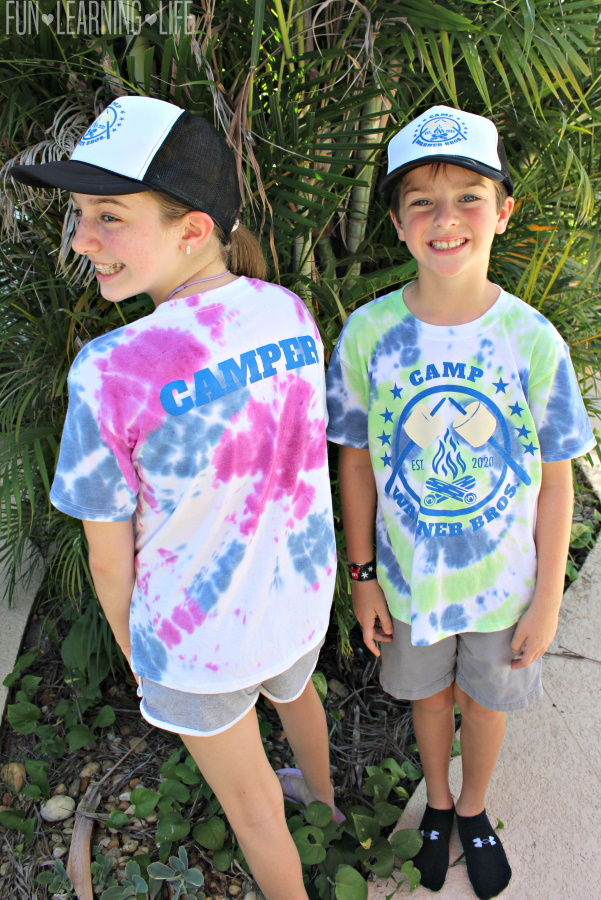
To get into the camping spirit, we were sent a Goody Pack with shirts, hats, water bottle, and towel along with a 3 Color Tie-Dye Kit to for our Summer Camp at Home.
Now I am a planner, so before we even attempted to Tie-Dye I asked my friends online for any suggestions they might have.
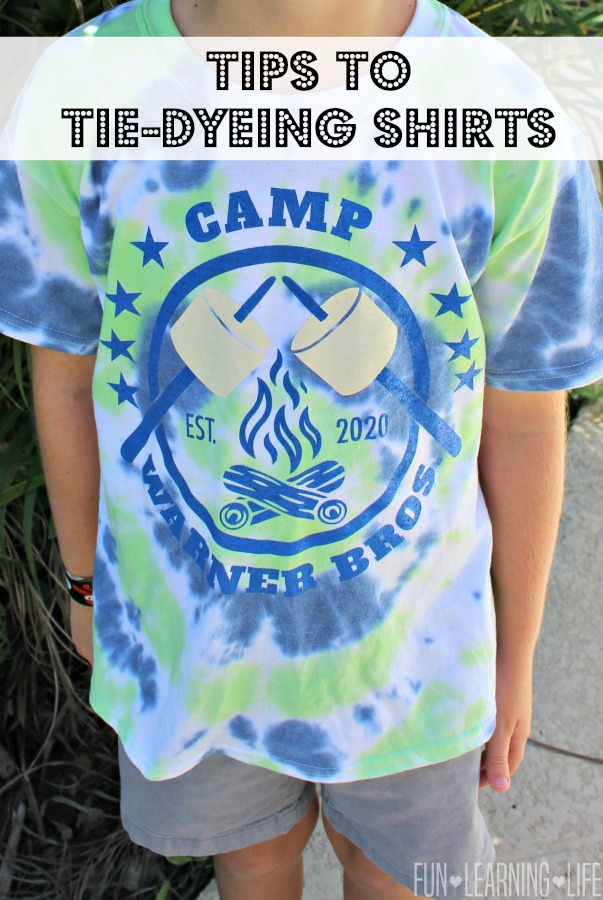
After utilizing suggestions and making a few shirts, check out our Tips To Tie-Dyeing Shirts for Summer Camp At Home.
Protect the work surface –
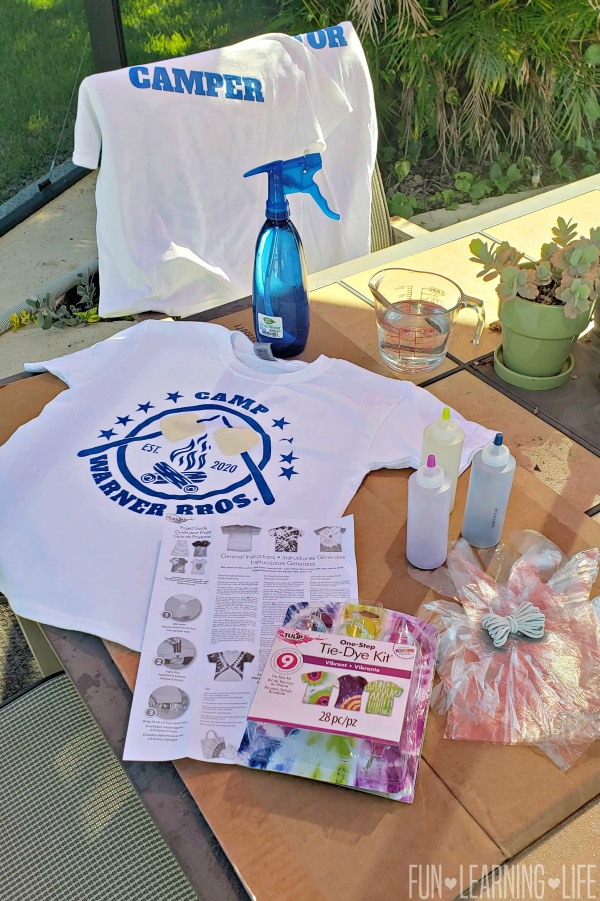
Before we got started I covered the work area outside with cardboard, based on a suggestion from my friend Lauren. You can also use a plastic table cloth and either one will help make cleanup simpler. Also keep paper towels at the ready.
Cover Your Clothing –
We do a lot of crafts for kids involving paint, so I have aprons on hand to protect their clothing. If you don’t have aprons, use an over-sized old t-shirt as an alternative.
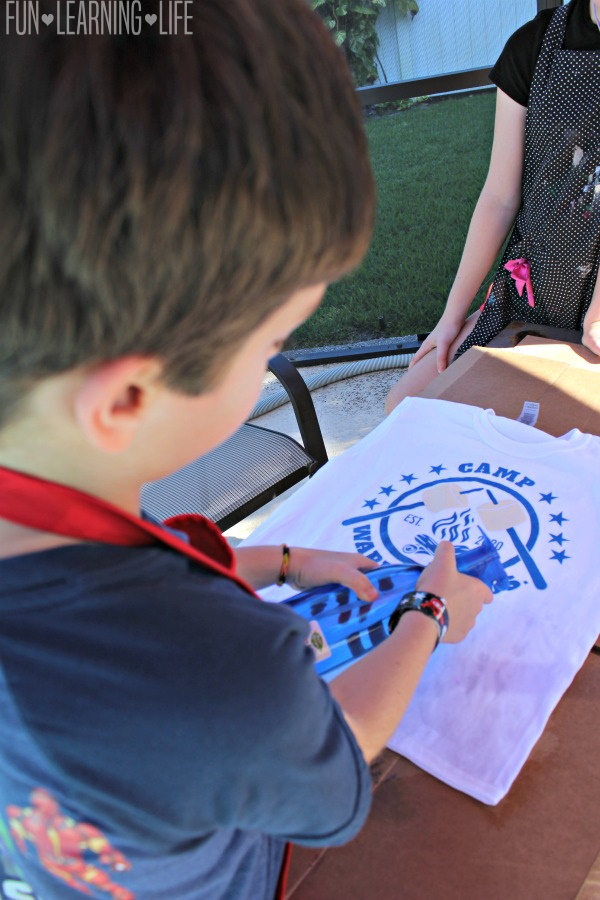
Wet the shirts in advance –
There are different methods to tie-dye. You can leave the shirt dry, wash it and not dry, or use a water bottle to wet it. Thanks to a suggestion from our cousin Kady, we used a spray bottle to wet the shirts to help with absorption. Tip: The directions said to prewash new shirts before you dye to remove changes due to sizing.
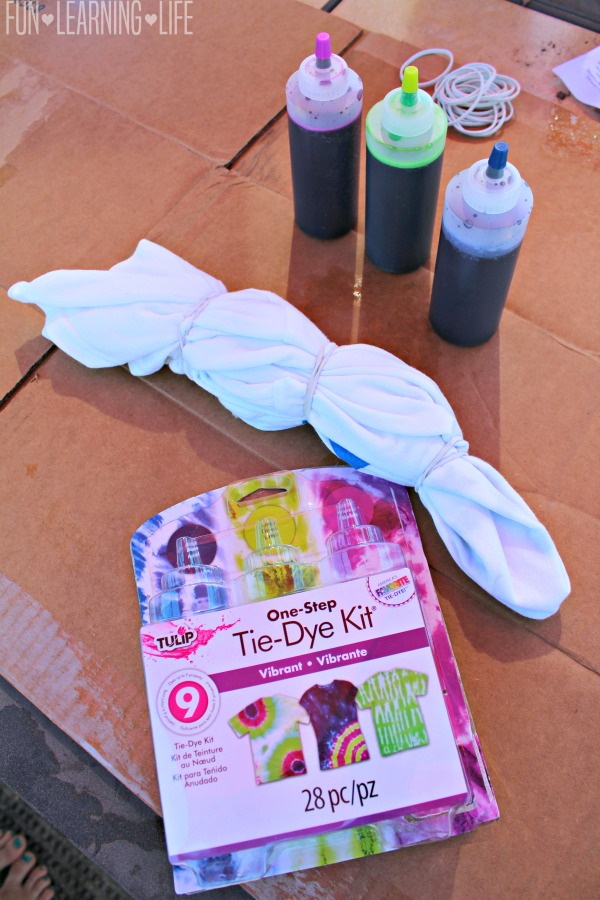
Use A Tie-Dye Kit –
I like the idea of using a Tie-Dye kit because it takes the effort of piece buying items. It contained gloves, rubber bands, squeeze bottles, tips with a website as well as the step by step directions. All we simply needed to add water.
Clean up after each application –
In order to avoid unwanted dye on a new project, make sure the work surface is cleaned off and completely dried.
Twist the material tightly –
If you want the dye to reach more of the material, it needs to be twisted as thin as possible. My daughters shirt was a looser twist and we ended up with more white on her design. Tip: Add dye to both sides of the material.
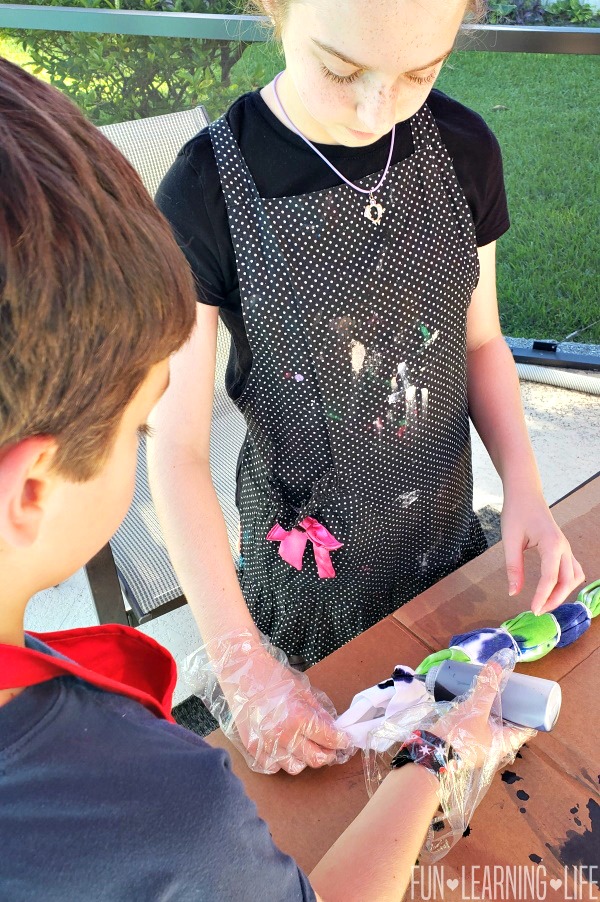
More Rubber Bands, More detail –
As you can tell, my kiddos designs turned out great. We just started with the basic center twist and rubber bands. I did notice that the more sections we created, the more detailed designs we ended up with. My son’s shirt is a good example of this.
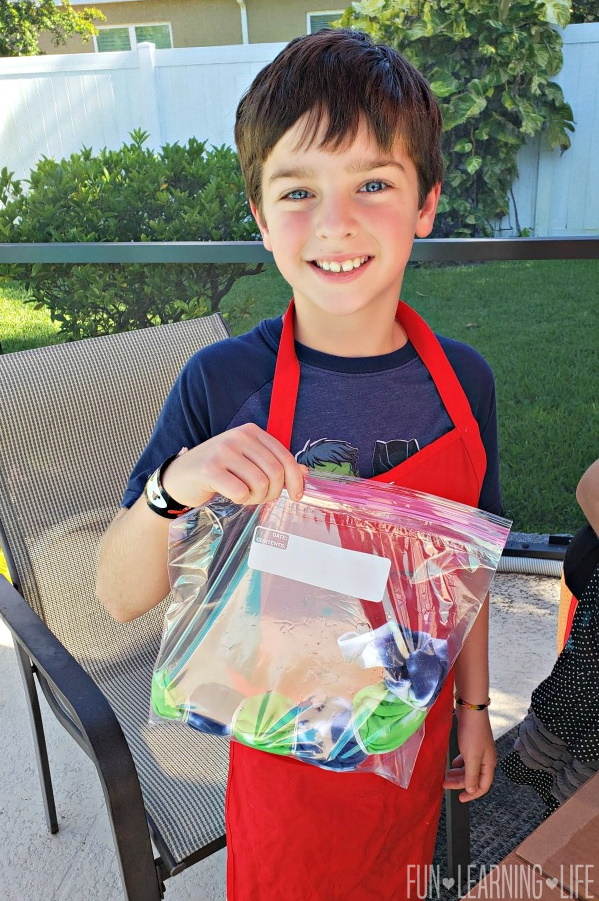
Pick Up Zipper Bags –
The kit recommended using plastic wrap to keep the shirts wet for 6 to 8 hours before you rinse out and wash the shirt. I found it easier just to put them in a gallon size zipper bag.
Looking for other Tie-Dye Design Ideas?
My daughter is currently working on is a spiral tie-dye and a crumple tie-dye that she found at Darma Trading Co and FavCrafts.
Now that we have our Tie-Dye Shirts ready for Camp Warner Bros, we can’t wait to share additional activities for Summer Camp at Home over the next 8 weeks, stay tuned…
Carlee @ FLL
Leave a Reply