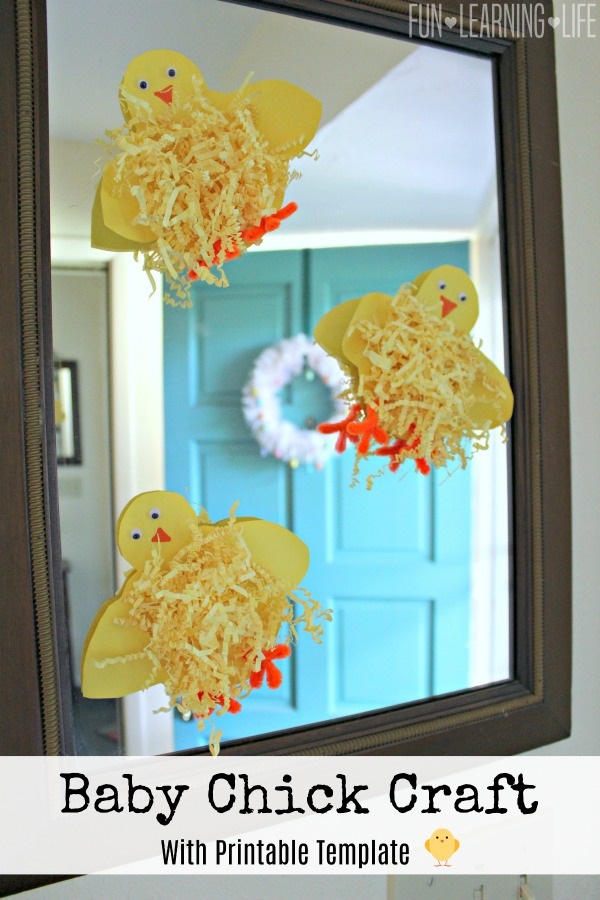
Looking for an easy Easter Craft or Spring activity for the kiddos to create?
If so, this Baby Chick Craft my children made is super simple and turned out adorable.
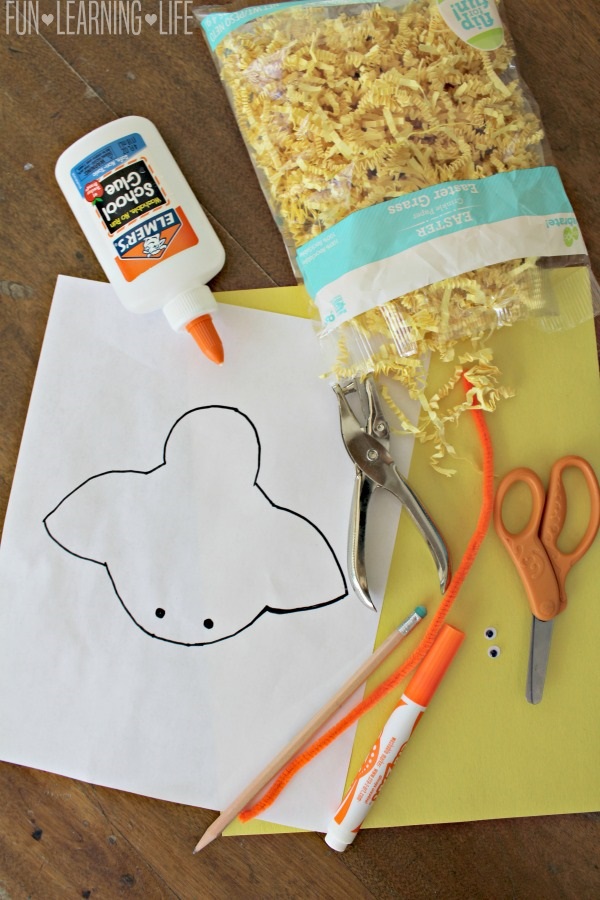
Plus to make it even easier for you, I traced my design and turned it into aPrintable Baby Chick Template for download.

Are you ready to get started? Here are the supplies you would need to make the Baby Chick Craft :
White Printer Paper (To Print Template)
Orange Fuzzy Stick
Orange Marker
Yellow Crinkle Cut Filler Paper
Glue
Pencil
Googly Eyes (Just like I used on this Baby Bird Craft Inspired by Craft Project Ideas)
Hole Punch
Safety Scissors
Directions:
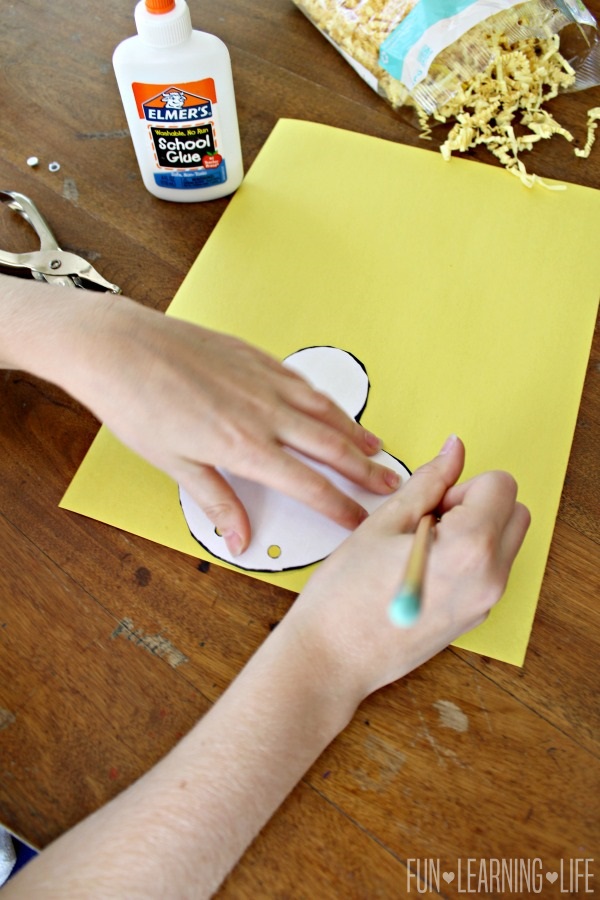
To get started, print out the Printable Baby Chick Template and cut out the shape. You will also need to use the hole punch on the 2 circles.
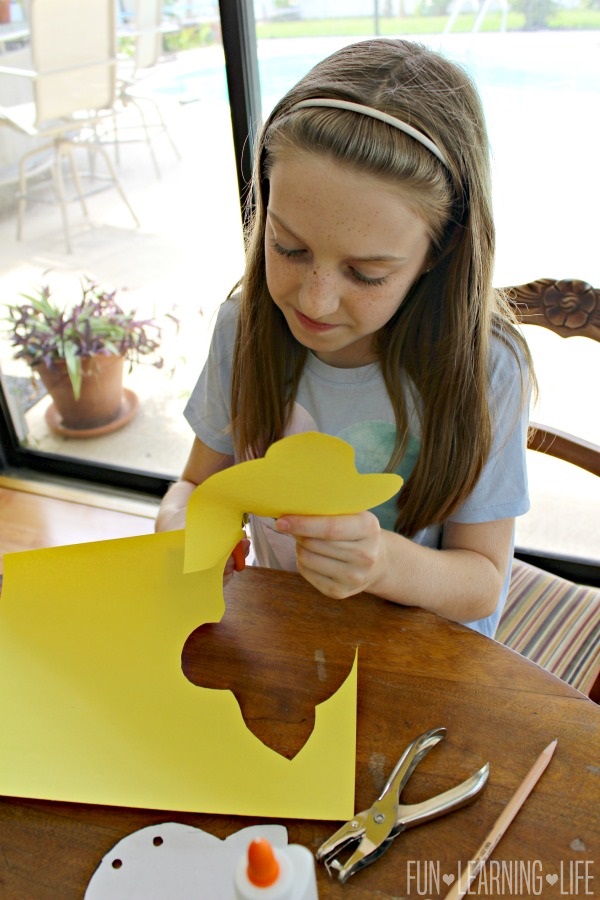
This shape will then need to be traced onto the yellow construction paper and cut out.
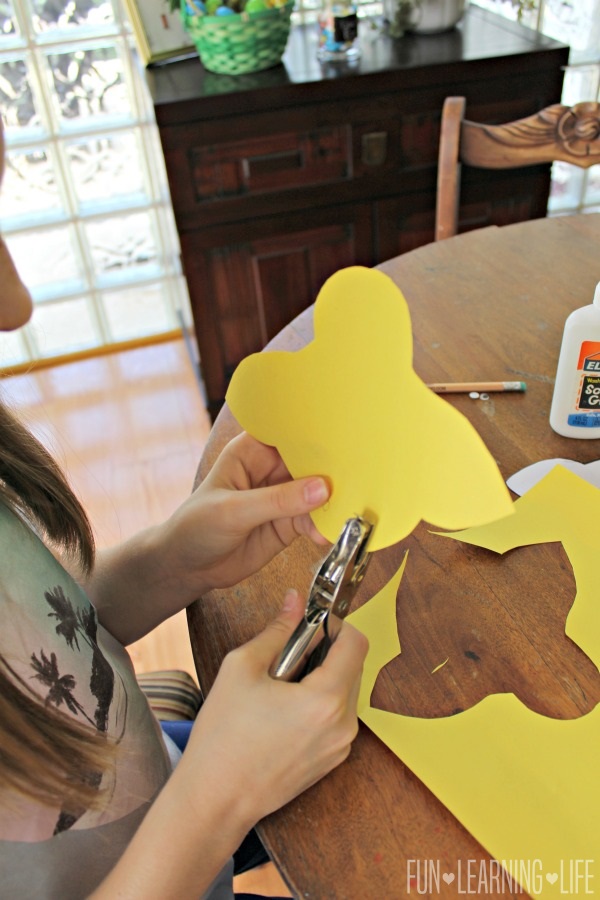
Don’t forget to also fill in those 2 circles and again use the hole punch to remove them.
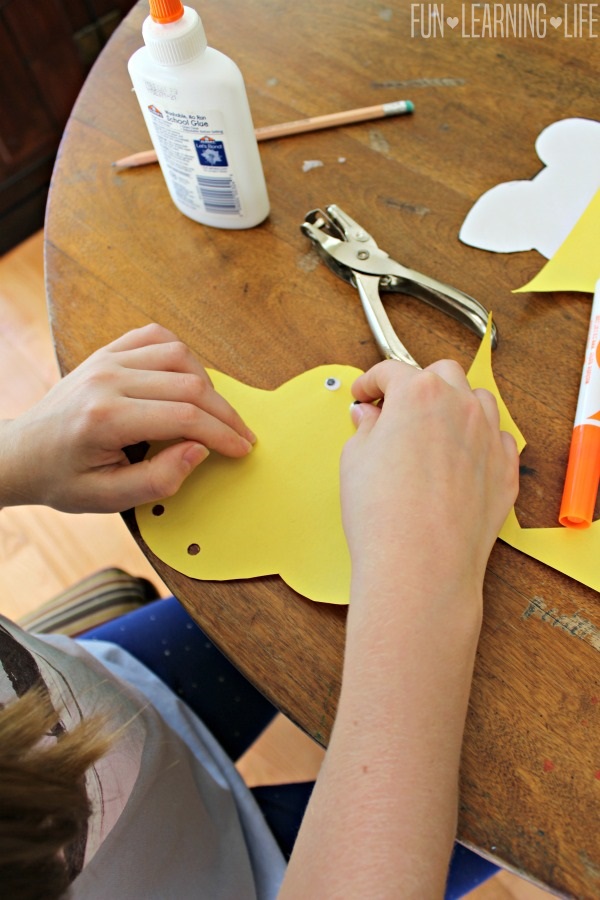
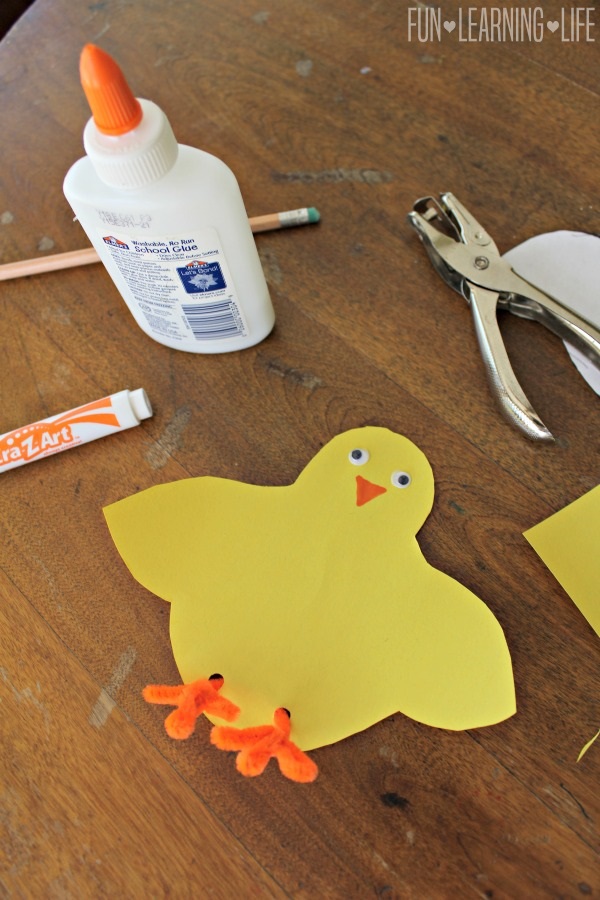
Next up, glue on the two googly eyes and draw on the beak with the orange marker.
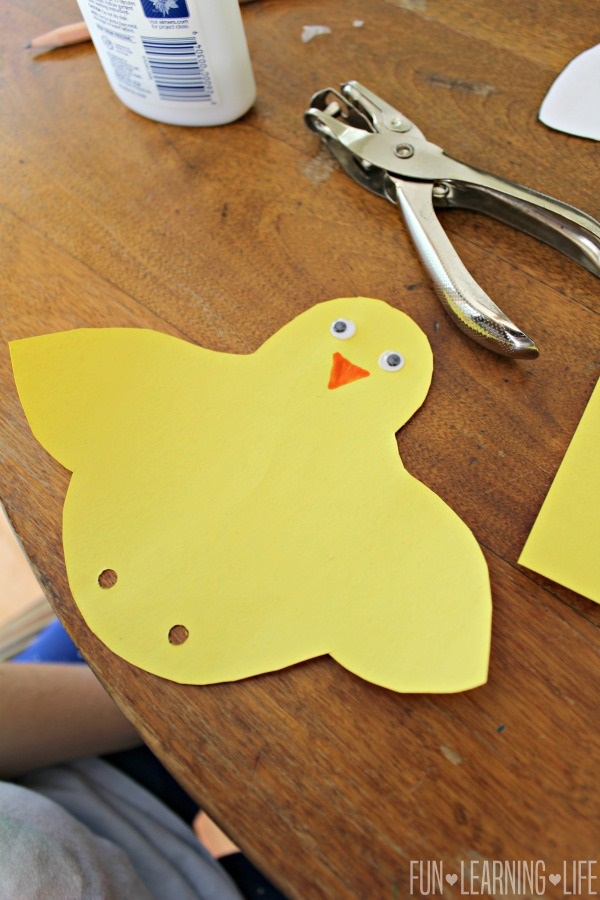
Now it is time to run the orange fuzzy stick through the back of the baby chick where the 2 holes were punched out.
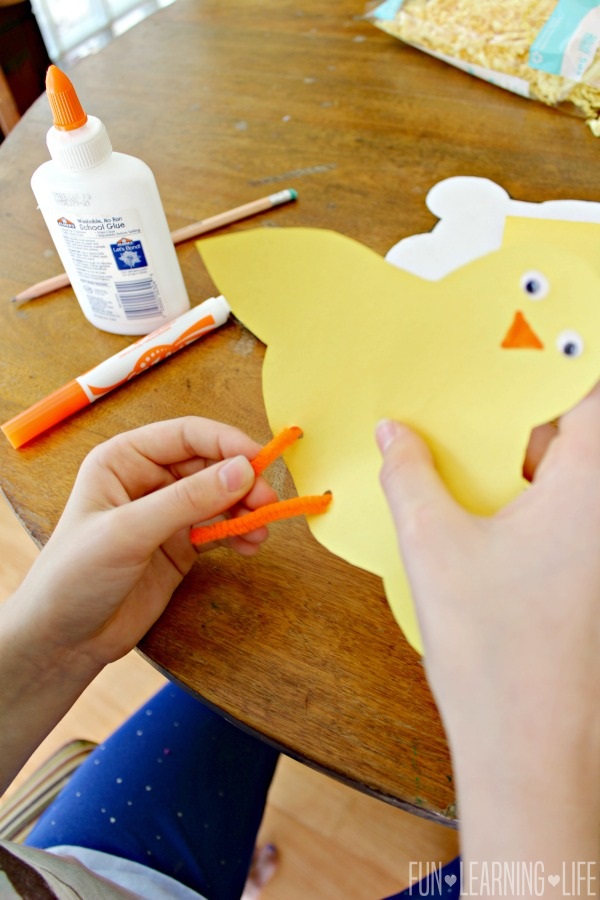
The two “legs” will need to be made shorter by folding the sections into 6 – 1/2 inch zigzags. Then mash them together into 3 sections to make feet.
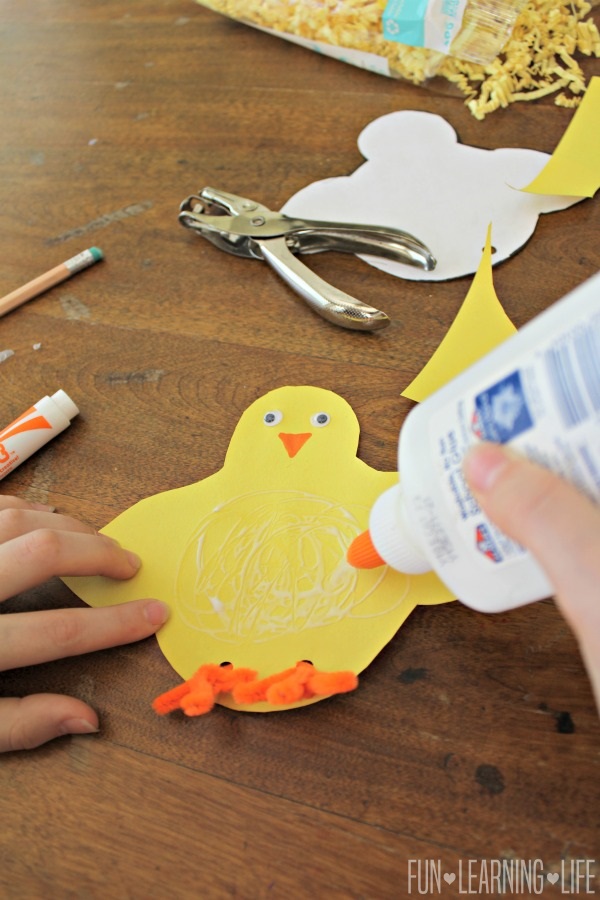
It is time to add the glue to the center of the baby bird.
Be sure to spread the glue out evenly. FYI, we decided to leave it off the wings.
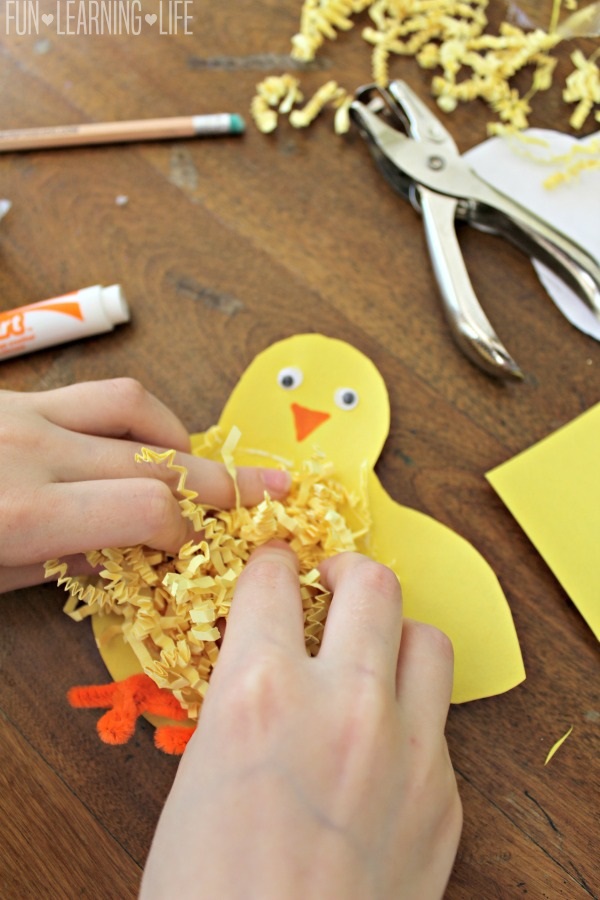
Finally, grab a handful of the yellow crinkle filler paper and press that down on the glue. Allow this to dry completely.
We then hung a few of our baby birds on a mirror with tape and they looked perfect for Easter.
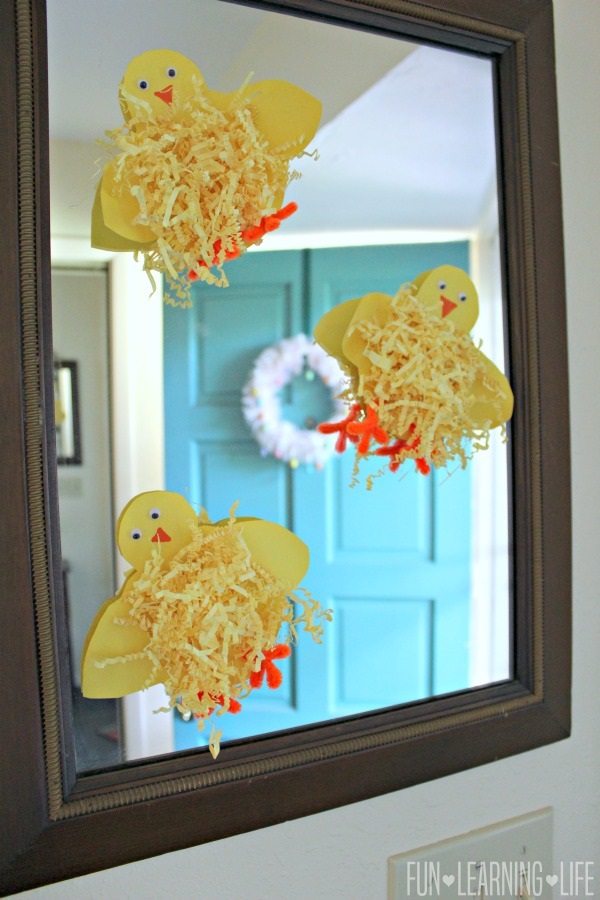
As you can see, this Baby Chick Craft with Printable Template is extremely simple to put together.
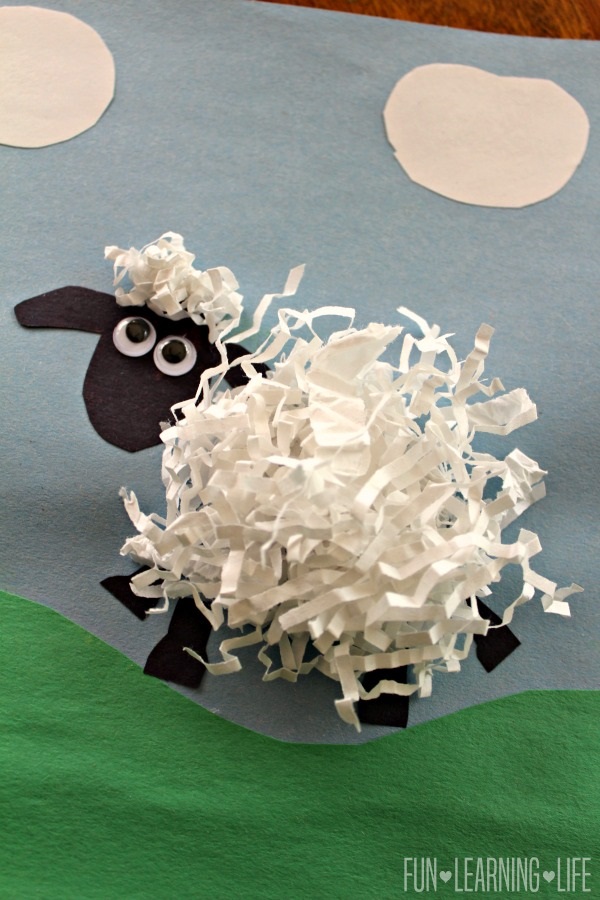
Looking for another Easter or Spring Craft Idea? Be sure to also check out this Paper Sheep Craft.
I hope your family has fun making these crafts together and you have a wonderful time celebrating Easter.
Carlee @ FLL
Leave a Reply